
Welcome, Laravel enthusiasts! In this guide, we're going to talk about integrating one of the most powerful and popular online payment gateways - Stripe, into your Laravel application.
Stripe is a fantastic payment platform with excellent API documentation and robust functionality, making it a favourite among many developers. Laravel, on the other hand, is a comprehensive PHP framework that takes much of the pain out of web development. So why would you want to use Stripe with Laravel? Well, simply put, by combining these two, you can build powerful applications that handle payments with ease, thereby allowing you to monetize your product or service.
By the end of this article, you will have a complete understanding of how to integrate Stripe into a Laravel application, complete with user payments and subscriptions. Specifically, we'll cover how to set up your Stripe account, configure Laravel Cashier, build a payment model and checkout process, handle subscriptions, and even test payments.
Whether you're planning to launch a full-fledged e-commerce website, a Software-as-a-Service (SaaS) application, or simply wish to incorporate a paywall into your site, this guide will give you the know-how to do so. So, grab a cup of your favourite beverage and let's dive into the world of Laravel and Stripe integration!
Stay with us and by the end of this journey, you'll be well-equipped to monetize your Laravel applications. Let's get started!
Prerequisites
Before we embark on this exciting journey of integrating Stripe with Laravel, there are a few prerequisites that you need to have in place.
Knowledge Requirements
You should have a basic understanding of the following:
- PHP: Laravel is a PHP framework, so a basic understanding of PHP is necessary.
- Laravel: Some familiarity with Laravel, its structure, and its concepts, like routing, controllers, and views, will be beneficial.
- Basic HTML and CSS: You'll need to create a basic front-end interface for the payment process.
Resource Requirements
You'll also need:
- Laravel Environment: You should have a Laravel development environment set up on your computer. This includes having Composer installed, as Laravel uses it for package management. If you haven't set up Laravel yet, you can check out Laravel's official installation guide.
- Authentication for Laravel: I recommend Laravel Breeze as it's easiest to get started with. Learn how to set it up here.
- Stripe Account: You'll need a Stripe account. Don't worry if you don't have one yet. We'll walk through the process of creating one in the next section.
Please note, this tutorial is based on Laravel 10.x and Stripe's latest API version available as of June 2023.
Now that we've covered the prerequisites, it's time to dive into the meat of this guide. In the next section, we'll start setting up our Stripe account and configuring our Laravel environment to integrate with Stripe.
Setting up Stripe
The first step in integrating Stripe with Laravel is to set up your Stripe account. If you don't already have a Stripe account, head over to Stripe's website to create one.
Creating a Stripe Account
- Visit the Stripe website and click on 'Start Now' to create a new account.
- Fill in your business details, including the business type, industry, phone number, and email address.
- After registration, verify your email address and set up two-factor authentication for added security.
- Finally, navigate to the dashboard and complete the account activation process by providing the necessary business and bank details. Stripe requires these to remit payments to your bank account.
Getting API Keys from Stripe
For Laravel to interact with Stripe, we need Stripe's API keys. Here's how to get them:
- From your Stripe Dashboard, navigate to the 'Developers' menu and then click on 'API keys'.
- Here, you'll see two types of keys: Publishable key and Secret key. Both keys are unique to your account and allow your Laravel application to interact with the Stripe API.
- Keep this page open or copy these keys somewhere secure, as we'll need them when configuring Laravel Cashier.
Great job on setting up Stripe! Now that we have our Stripe account ready and our API keys at hand, let's move on to installing and configuring Laravel Cashier in the next section.
Installing and Configuring Laravel Cashier
Laravel Cashier provides an expressive, fluent interface to Stripe's subscription billing services. It handles almost all of the boilerplate subscription billing code you are dreading to write. In this section, we'll install and configure Laravel Cashier.
Installation
First, let's install the Laravel Cashier via the Composer package manager:
composer require laravel/cashierDatabase Migrations
Next, you need to migrate the Cashier's table. This table will keep track of all your customer's subscriptions. Run the following artisan command to migrate the tables:
php artisan migrateModel Setup
The next step is to add the Billable trait to your billable model (this is typically the 'User' model):
<?php

namespace App\Models;

use Laravel\Cashier\Billable;
use Illuminate\Database\Eloquent\Model;

class User extends Model
{
    use Billable;
}
app/Models/User.php
Configuring .env Variables
Finally, we have to set up the Stripe API keys in our Laravel application. Open your .env file and add the following lines:
STRIPE_KEY=your_stripe_publishable_key
STRIPE_SECRET=your_stripe_secret_key
.env
Remember to replace your_stripe_publishable_key and your_stripe_secret_key with the actual keys you got from your Stripe account.
This concludes the Cashier setup process. With this in place, we have the fundamentals ready to start accepting payments with Stripe in our Laravel application. Let's move to creating a payment model in the next section.
Creating a Payment Model
Now that we've configured Laravel Cashier, let's create a model to manage our Stripe payment data. We'll call this model 'Payment'. It's also crucial to set up migrations and the database for this model.
Creating the Payment Model and Migration
Let's start by creating the model and migration using Laravel's artisan command:
php artisan make:model Payment -mThe -m option creates a migration file for the Payment model.
Setting up the Payments Table
Open the newly created migration file located in database/migrations. We need to define the structure of our payments table here. Update the up() method in the migration to look like this:
public function up()
{
    Schema::create('payments', function (Blueprint $table) {
        $table->id();
        $table->foreignId('user_id')->constrained();
        $table->string('stripe_id');
        $table->string('amount');
        $table->timestamps();
    });
}
In this schema, user_id is a foreign key referencing the user who made the payment, stripe_id stores the Stripe payment ID, and amount is the amount of the payment.
Running the Migration
After setting up the migration, we need to run it to create the payments table in our database. You can do so by running the following command:
php artisan migrateGreat! Now that we've created our Payment model and set up its corresponding table in the database, we're ready to start building our checkout process, which we'll cover in the next section.
Creating a Product in Stripe
Now before we can open any kind of payment window, we need something to sell. In Stripe, that would be "products".
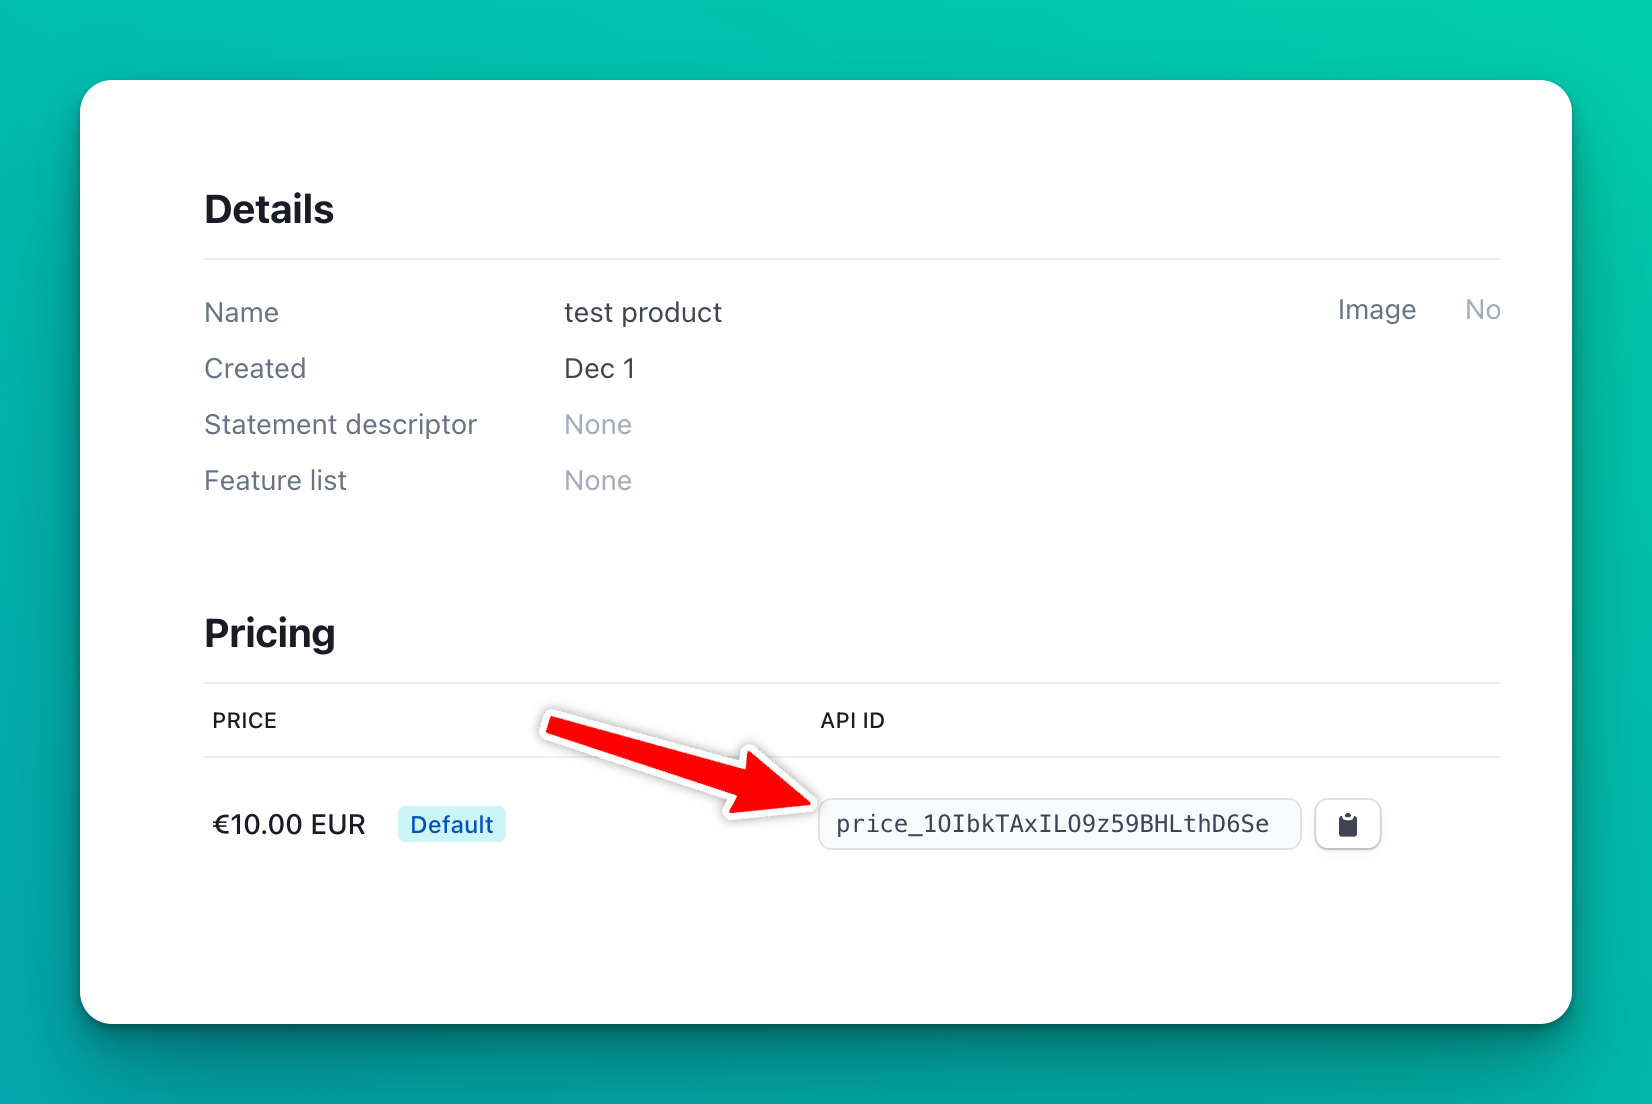
Let's create our first product by going to your Stripe's Product Catalog and clicking on "Add product". Enter a name, e.g. "Test product", select "One-off" type, and any price - this will not be a real purchase anyway.
Once you have created the product, go to it's details and make note of the price ID, which is a unique identifier that begins with price_ like so:
Building a Checkout Process
A crucial part of accepting payments is the checkout process. This is where users will enter their payment details and complete their purchase. Let's create the routes, controllers, and views for a simple checkout page.
Creating the Controller
First, let's create a controller named CheckoutController:
php artisan make:controller CheckoutControllerNow, open the CheckoutController.php file that's been created in the app/Http/Controllers directory and add a checkout method:
<?php

namespace App\Http\Controllers;

use Illuminate\Http\Request;

class CheckoutController extends Controller
{
    public function checkout(Request $request)
    {
        $user = $request->user();

        // Redirect user to a new Stripe Checkout Session
        return $user->checkout(
            'price_1OIbkTAxILO9z59BHLthD6Se',
            // Replace the above Price ID with the one you created
            [
                'success_url' => route('success'),
                'cancel_url' => route('cancel'),
            ]
        );
    }
}
app/Http/Controllers/CheckoutController.php
This method generates a new Stripe Checkout session and passes it to our checkout view. The product name and unit amount are hardcoded for the purpose of this tutorial, but you'd typically retrieve these from your database.
Creating the Routes
Next, we need to define the routes for our checkout process. Open the routes/web.php file and add the following lines:
use App\Http\Controllers\CheckoutController;

Route::get('/checkout', [CheckoutController::class, 'checkout'])->name('checkout');

Route::get('/success', function () {
    return 'Payment successful!';
})->name('success');

Route::get('/cancel', function () {
    return 'Payment canceled!';
})->name('cancel');
routes/web.php
These routes define the checkout page for a given user and the success and cancellation pages.
When the user visits the /checkout route, they will be redirected to Stripe's Checkout page, which is a page hosted by Stripe, is well-known by customers and it by far the easiest method for taking payments. The customer will enter their payment details, complete the transaction, and get redirected back to your website.
That's it! We've built a simple checkout process for our Laravel application. In the next section, we'll implement the logic for handling payments and subscriptions.
Subscription checkout
Subscriptions are another common use case for online payments. With Laravel Cashier, managing subscriptions is straightforward.
The User model now exposes a newSubscription method to create a new subscription:
$user->newSubscription('default', 'price_EUR');In this line of code, 'default' is the name of the subscription, 'price_EUR' is the Price ID of the pricing plan in Stripe. The previous Price ID of a one-off product won't do - you'll need to create a new product with a new price that is recurring.
In order to create a subscription that charges the customer on a recurring basis, you will need to capture their payment method. There's two ways of doing that:
- Capture the payment method with Stripe Elements
- Redirect the customer to a Stripe Checkout page (easiest)
Redirecting is by far the easiest option - just let Stripe handle the most complex parts. Let's add a new route and controller method to show how subscription checkout would work.
use App\Http\Controllers\CheckoutController;

// ...

Route::get('/subscription-checkout', [CheckoutController::class, 'subscriptionCheckout'])->name('subscription-checkout');
routes/web.php
And the controller method:
<?php

namespace App\Http\Controllers;

use Illuminate\Http\Request;

class CheckoutController extends Controller
{
    // ...

    public function subscriptionCheckout(Request $request)
    {
        $user = $request->user();

        return $user->newSubscription('default', 'price_monthly')
            ->checkout([
                'success_url' => route('success'),
                'cancel_url' => route('cancel'),
            ]);
    }
}
app/Http/Controllers/CheckoutController.php
Now, just visit /subscription-checkout and you will be redirected to subscribe to a recurring plan. That was easy!
Checking subscription status
You can also check the subscription status with methods like $user->subscribed('default'), $user->subscription('default')->renewing(), and $user->subscription('default')->onGracePeriod().
These examples only cover the basics of handling payments and subscriptions. Depending on your application, you might need to handle more complex scenarios, like updating or cancelling subscriptions, applying coupons, and handling invoices. Fortunately, Laravel Cashier makes these tasks relatively easy.
Next, we'll look at how to test our setup to ensure everything is working as expected.
Testing the Payment Flow
Testing is a vital part of the development process, and this holds for your payment flow as well. Stripe provides a suite of test cards for you to test different scenarios.
Stripe Testing
You can access Stripe's testing suite through the Stripe Dashboard:
- In your Stripe Dashboard, navigate to "Developers" -> "API keys".
- You'll see a toggle at the top to switch between viewing test data and live data. Make sure "View test data" is turned on.
- Copy the Test Publishable Key and Test Secret Key and use them in your
.envfile instead of the live keys.
Stripe provides a list of card numbers that you can use for testing. You can find these in their Test card numbers page in Stripe Docs. For example, you can use 4242 4242 4242 4242 for a card that will always approve payments.
How do I handle payments from Stripe Checkout?
It's best to use Webhooks for this scenario. Please see Laravel Cashier documentation on Webhooks.
We also have a full article on how to set up Webhooks in Laravel.
Wrapping Up and Next Steps
Congratulations! You've successfully set up a Stripe payment gateway in your Laravel application. We've covered a lot of ground:
- We introduced Laravel and Stripe, explaining why they're a powerful combination for handling online payments.
- We discussed how to create and configure a Stripe account.
- We walked through installing and configuring Laravel Cashier, an interface that simplifies the interaction between Laravel and Stripe.
- We built a simple checkout process, including routes and controllers.
- We built a simple subscription checkout process, including routes and controllers.
- Finally, we tested the payment flow using Stripe's test mode and cards.
Now that you have a working payment system, you might want to enhance it further:
- Customize the checkout page: Tailor the Stripe checkout page to match your brand. You can add your logo, choose your brand's colors, and even localize the page to the user's language.
- Refine your subscriptions: You might want to offer different subscription plans, trial periods, or discounts. You could also allow users to upgrade, downgrade or cancel their subscriptions.
- Handle more complex scenarios: We've covered the basics, but there's much more you can do with Stripe and Laravel Cashier. You can handle refunds, webhooks, one-time fees, and more.
That's it for our guide on setting up a Stripe payment gateway in Laravel. I hope you found it useful. Happy coding!
Conclusion
Setting up a payment gateway can seem daunting at first, but with Laravel and Stripe, it becomes a manageable task. In this guide, we have taken you step-by-step through the process of integrating Stripe into your Laravel application using Laravel Cashier.
By using Stripe, you're leveraging one of the most powerful, flexible, and secure payment platforms available. Combined with Laravel's expressive syntax and the utility of Laravel Cashier, it becomes an effective solution for handling payments and subscriptions in your application.
Remember to always keep testing and refining your payment process. A smooth and secure checkout experience is key to maintaining the trust and satisfaction of your users.
Where to go next?
Once you have set up Laravel Cashier and learned how to perform basic purchases or set up subscriptions, there are a few things you might be interested in next:
- Set up Webhooks so your applications is always aware of what happens offline - payment failures, subscription updates directly in Stripe, and much more.
- Generate invoices and email them to customers so your customers always have receipts for what they have paid
- Learn how to handle failed payments with Laravel Cashier, so you don't miss potential revenue!
Want to skip the complexity of building and maintaining your own billing infrastructure?
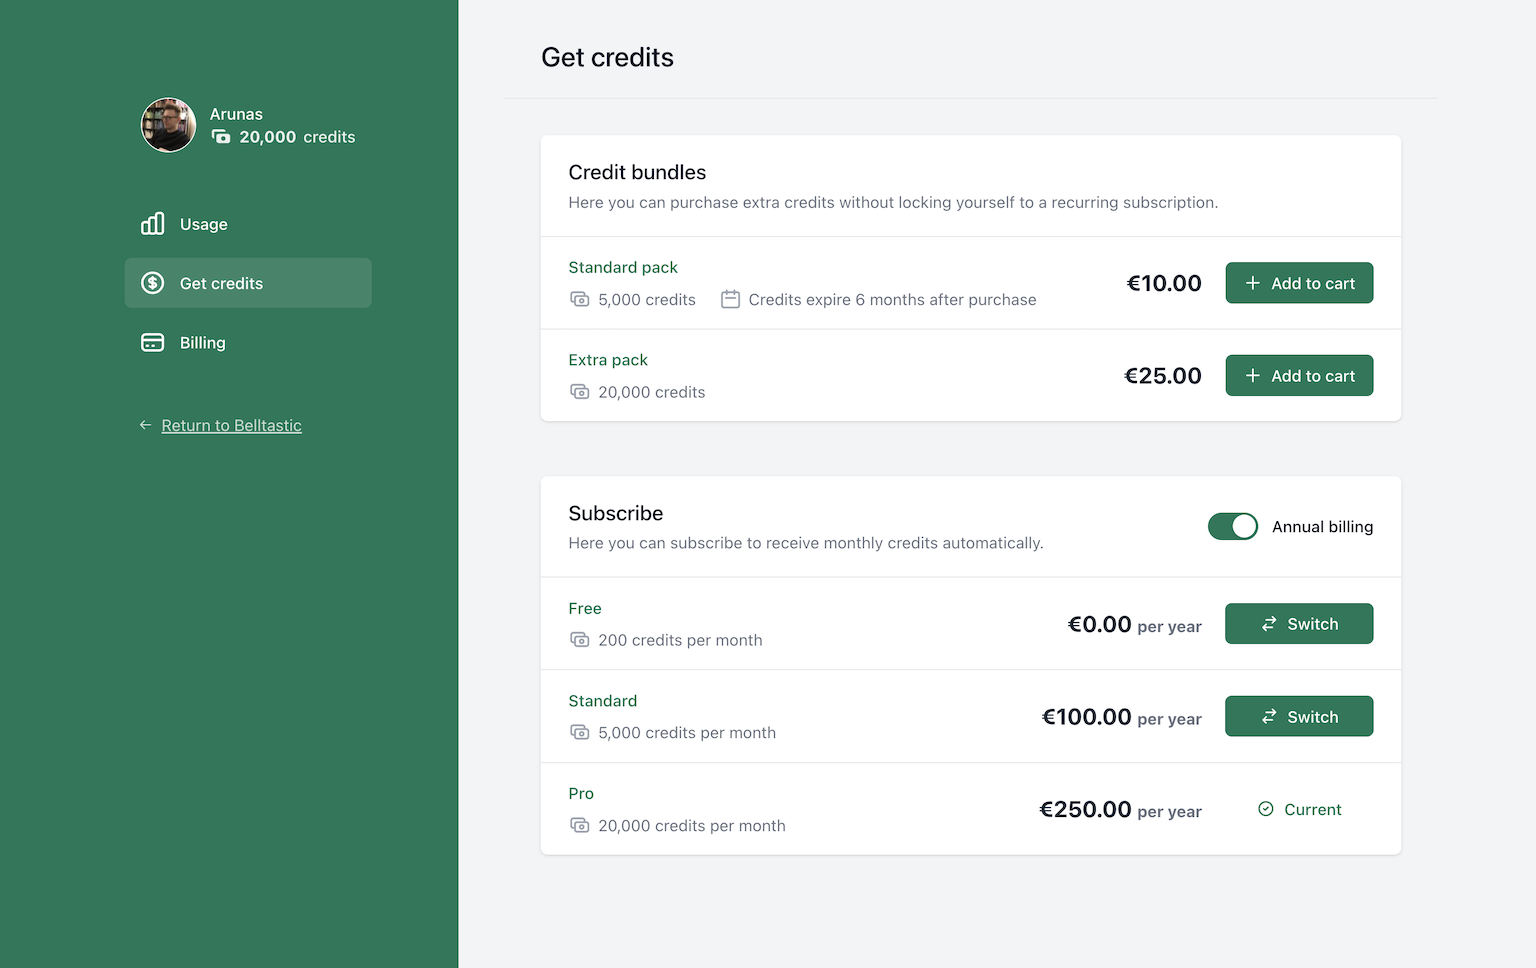
Spike Billing provides a complete, self-hosted billing solution that integrates seamlessly with both Stripe and Paddle. Your customers get a fully-featured portal to manage their subscriptions, one-time purchases, and billing details, while you maintain full control over the experience.
Get started in minutes with our Laravel package, or explore our extensive customization options to match your specific business needs. Visit documentation to get started, or have a look at a live demo.