
This post covers new changes and improvements to Spike ranging from v1.4 to v1.6 (latest).
If you're not sure what Spike is or what it does, be sure to checkout the main page or the documentation.
Full Laravel 10 support
Starting with v1.4.0, Spike now fully supports Laravel 10!
Stripe Checkout
Starting with v1.5.0, Spike now supports using Stripe Checkout for the final payment step. Once the user has selected the products or subscription plan they want on Spike, they can be redirected to Stripe Checkout to complete the payment. This has a number of benefits:
- Users can use a wider range of payment methods, such as Apple Pay, Google Pay, Klarna, etc. You can configure the available payment methods in your Stripe account, and the methods available will appear automatically based on the user's location/availability.
- Users will enter their payment details on Stripe, which might be a more familiar environment for your customers, instilling confidence in the purchase.
Let's see how to set it up.
First, you'll need to update your config/spike.php or publish it if you haven't. There's now a new configuration section specifically for Stripe Checkout.
    /*
    |--------------------------------------------------------------------------
    | Use Stripe Checkout instead of the in-built UI
    |--------------------------------------------------------------------------
    |
    | When disabled, Spike will use the in-built checkout UI for both
    | products and subscriptions. If you would rather use
    | Stripe's Checkout UI, you can enable this.
    |
    */

    'stripe_checkout' => [
        'enabled' => false,

        // Whether to generate invoices for payments made using Stripe Checkout.
        // Post-checkout invoices are not free. Please see the Stripe support article below:
        // https://support.stripe.com/questions/pricing-for-post-payment-invoices-for-one-time-purchases-via-checkout-and-payment-links
        'generate_invoices' => false,
    ],
config/spike.php
When you switch stripe_checkout.enabled to true, your users, instead of seeing the default checkout modal within Spike, will be redirected to your Stripe Checkout to complete the payment.
After the payment is complete, they will be redirected back to Spike billing to acknowledge their purchase with a "thank you" page.
Note: Using the Stripe Checkout strategy, invoices will no longer be generated automatically, but they can be enabled by setting the stripe_checkout.generate_invoices configuration to true.
You can read more about this feature in the docs.
Thank you page redirects
After your users complete the purchase of credits, they will be shown the "Thank you" page in Spike. If you'd like to show a different page, or redirect to a different page automatically after some time, you can now do that!
Spike v1.6.0 introduces the ability to redirect your users elsewhere automatically after a successful purchase.
This can be set up with the new Spike::redirectAfterProductPurchaseTo(string|callable $url, int $delayInSeconds = 0) method.
Add it to your AppServiceProvider::boot() like so:
use Opcodes\Spike\Facades\Spike;

class AppServiceProvider extends ServiceProvider
{
    public function boot()
    {
        // redirect to a different page 5 seconds after the purchase is complete.

        Spike::redirectAfterProductPurchaseTo('/custom-thank-you-page', 5);
    }
}
app/Providers/AppServiceProvider.php
The first argument even accepts a callback, which gets the shopping Cart instance in case the final redirection page depends on the products purchased.
use Opcodes\Spike\Facades\Spike;

class AppServiceProvider extends ServiceProvider
{
    public function boot()
    {
        // redirect to a different page 5 seconds after the purchase is complete.

        Spike::redirectAfterProductPurchaseTo(function (Cart $cart) {
            if ($cart->total_credits >= 10000) {
                return "/big-spender-thank-you";
            }

            return null;    // `null` value will not redirect anywhere.
	    }, 5);
    }
}
app/Providers/AppServiceProvider.php
And if you don't want to show the "Thank you" page at all, just set the delay to zero seconds!
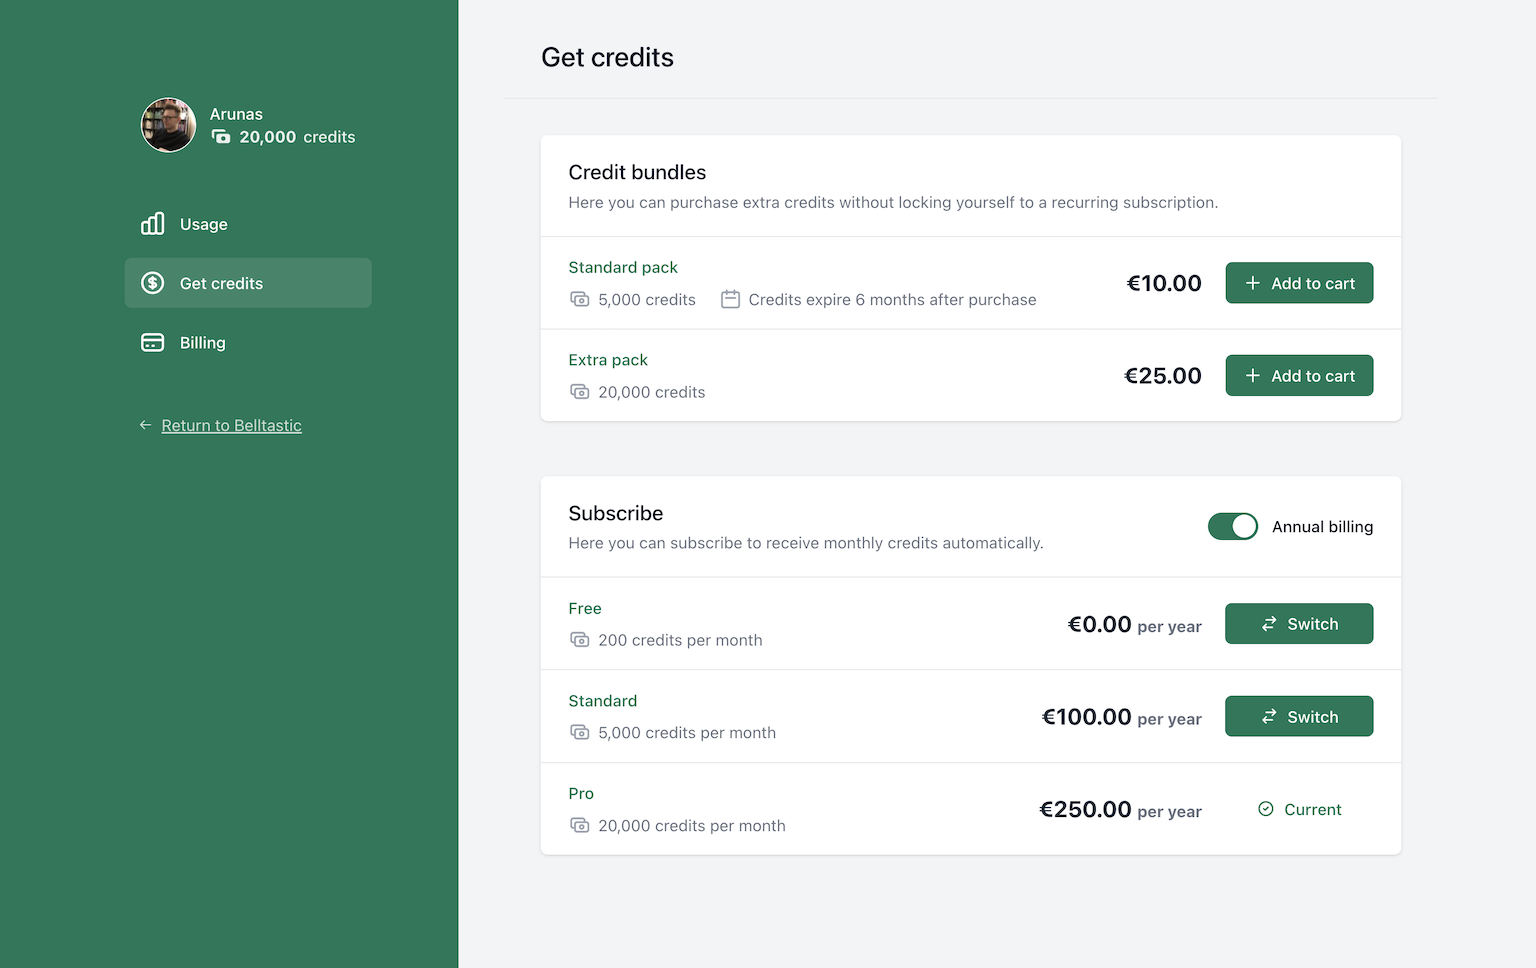
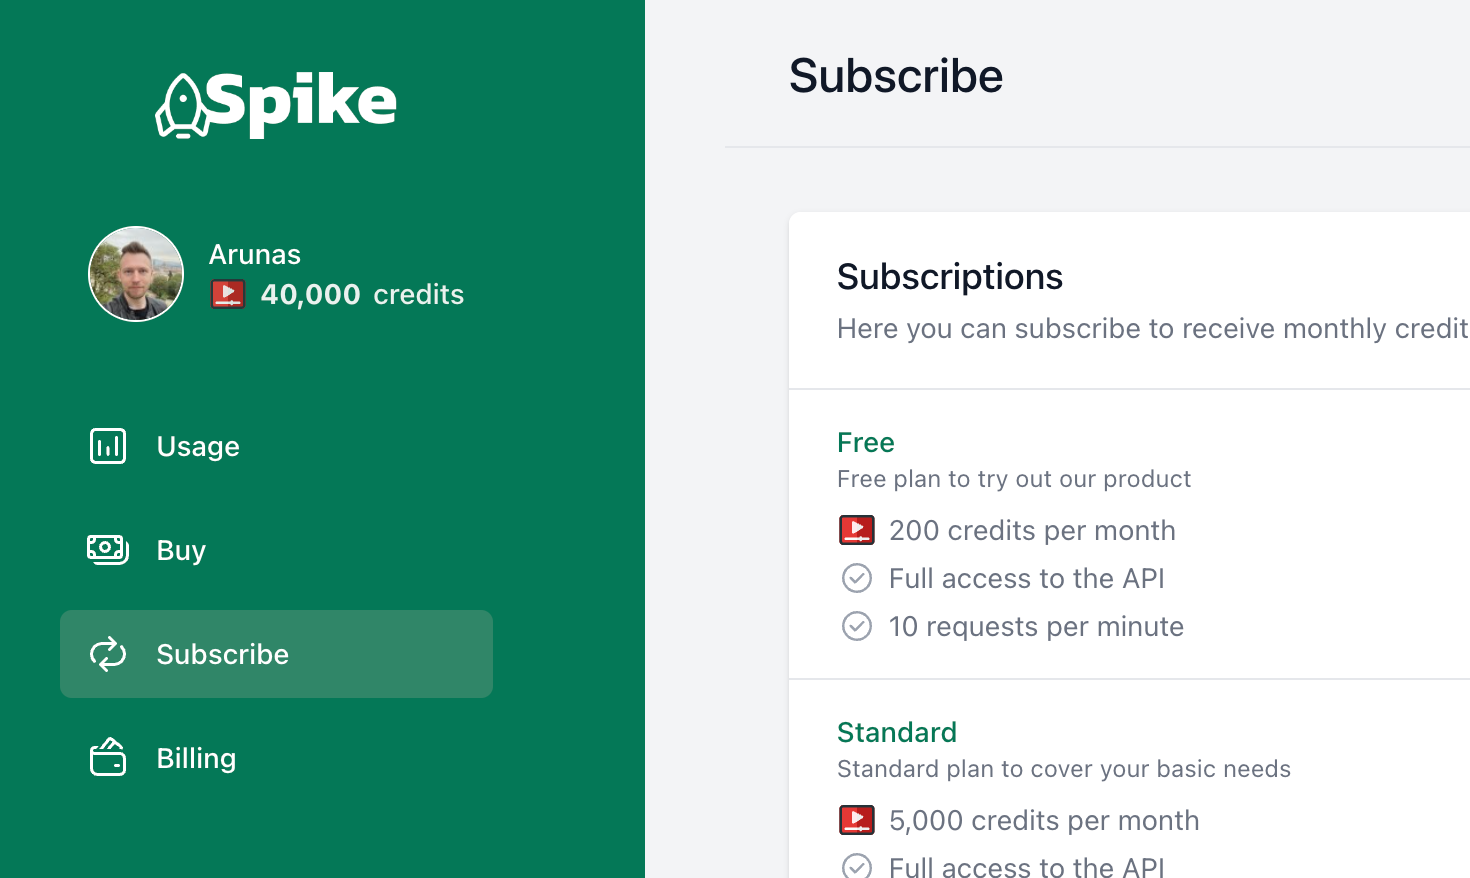
Custom credits icon
The default icon for credits is a few coins stacked on each other. Suits well in most cases, but perhaps not always! If you'd like to use a different icon to represent your credits, you can easily configure the SVG/JPEG/PNG image that's used for the icon across all of Spike.
This is a new config in the "theme" section of config/spike.php:
    'theme' => [
        // ...

        // URL/path to the icon for credits. Leaving this `null` will use the default icon.
        'credits_icon' => '/custom-icon.svg',
    ],
config/spike.php
It will put the icon in the <img src="..." /> tag, so make sure the path provided is accessible on the web. Here's an example of what it would look like with a custom icon:
In summary, Spike's v1.4 to v1.6 updates brought numerous improvements including full Laravel 10 support, integration with Stripe Checkout for a broader payment method selection, customizable "Thank you" page redirection, and a customizable credits icon. The updates aim to improve user experience and offer more configurability.
Don't miss out on these exciting new features! If you haven't already, consider securing a license for Spike and reap the benefits of its robust features designed to enhance your payment process. Click here to get started.